From version 2.2.0 it is possible to use your own images as icons for Budget Books, Accounts and Categories. This is particularly useful if you either want to use your bank’s logo or if you are missing a specific icon (e.g. a company logo for a category).
To use your own image as the icon for an account, for example, follow these steps:
- First, open the app’s “Settings” and navigate to “General” => “Manage Accounts” and either create a new Account by clicking on the “Plus”-button in the top right corner or edit an existing one by swiping from right to left and clicking the “Pen”-icon, or long press to open the context menu and select “Edit”.
- Afterwards, click on “Selected” in the “Icon” area in the form view that appears.
- You should now see the icon selection view, where in addition to the standard icons you will also see another button with a “Photo Stack” in the “General” section.
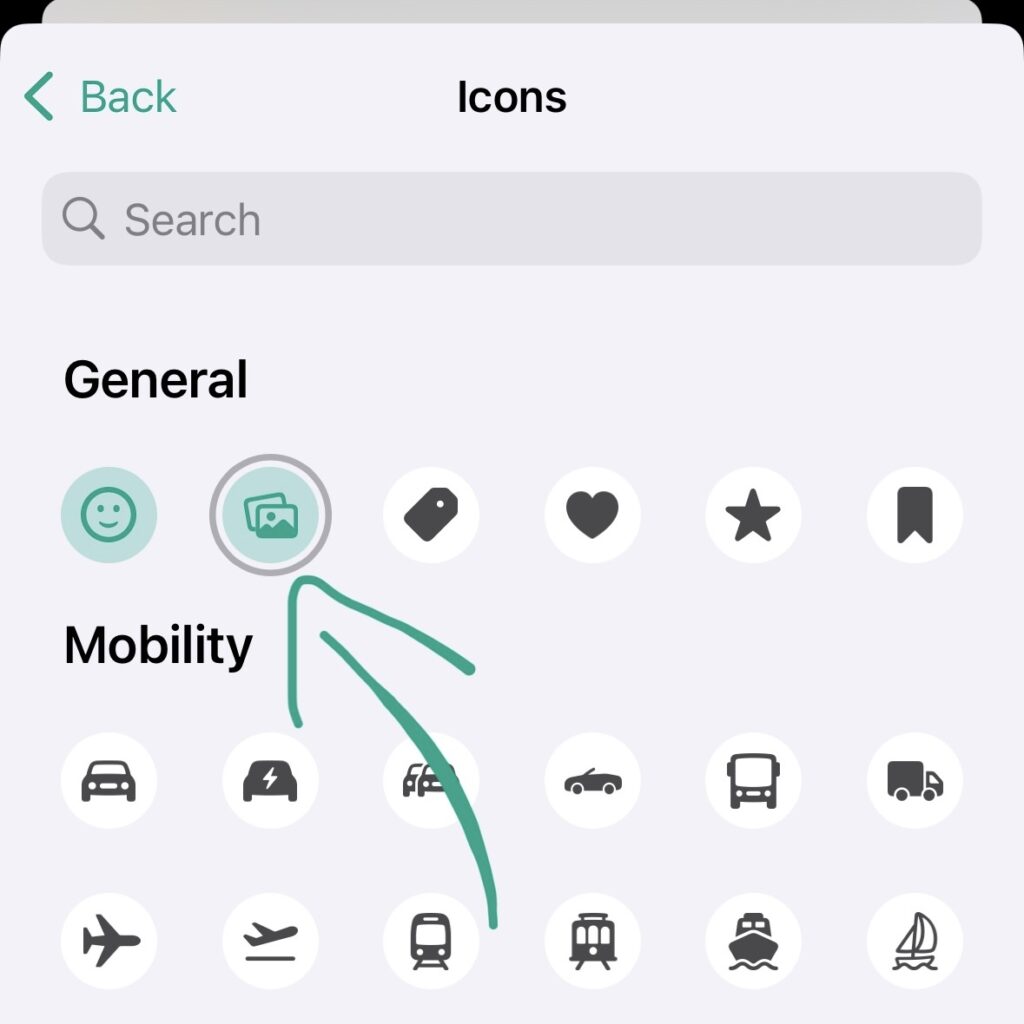
- When you click the “Photo Stack”-button, your photo library will open and you can select one of the images stored on your device.
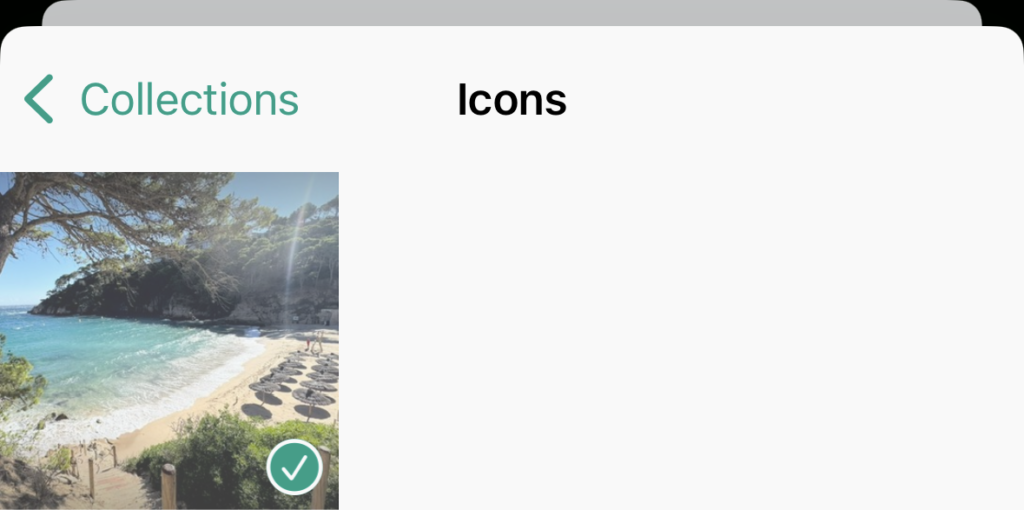
- After you save your changes, your Account will now display the icon you selected in all areas where it is presented.
Custom Icon Template
Recommended Size: 512 x 512 Pixel
Recommended Format: PNG (for transparency support)