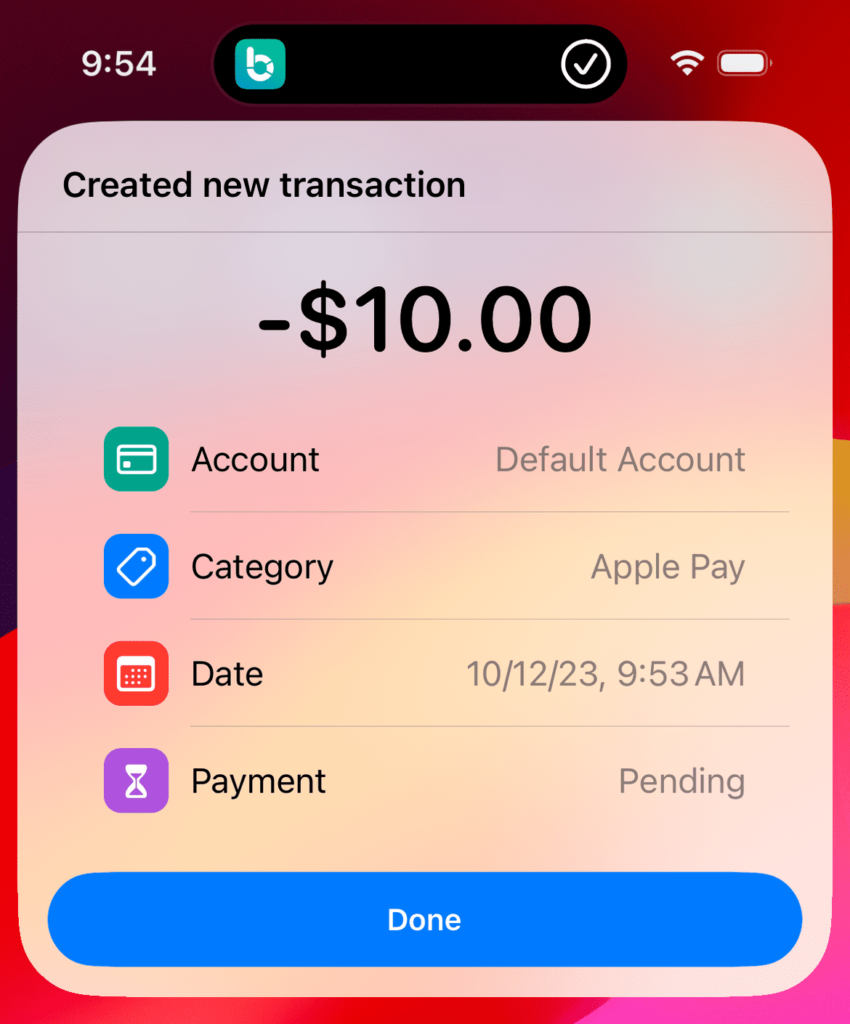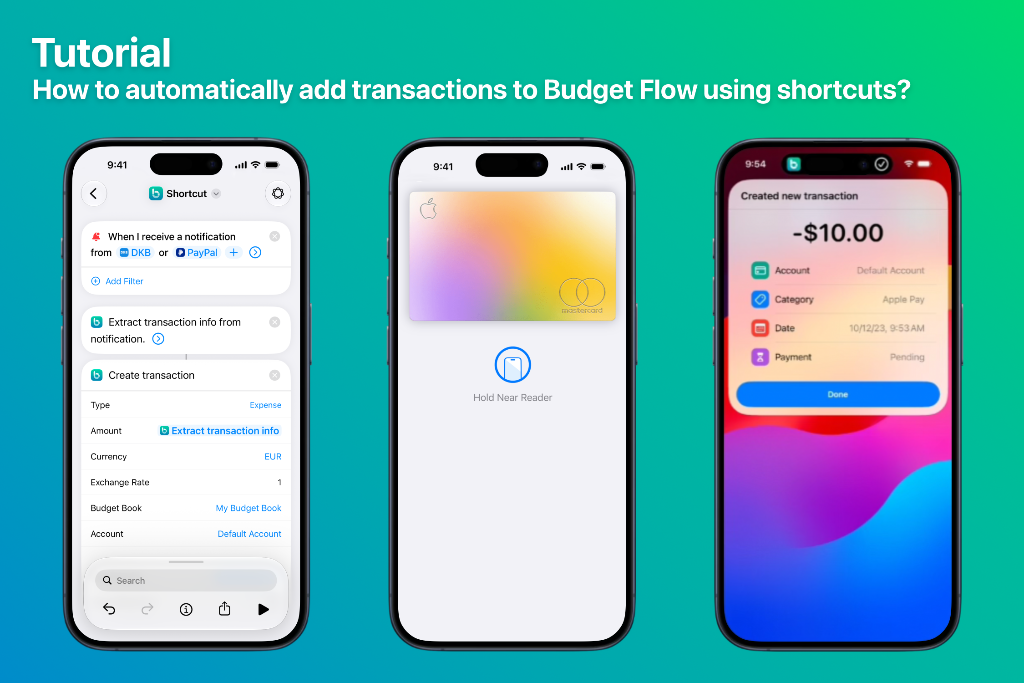
In this tutorial, you’ll be guided through the process of automatically adding transactions to Budget Flow using the Shortcuts app. Configuring this feature involves a few steps, but it’s relatively straightforward.
Notification Trigger (iOS 27+) (Recommended)
In iOS 27, Apple introduced a new automation trigger in the Shortcuts app called “Notification”, which allows you to automatically execute any shortcut after receiving a notification from any app.
Compared to the existing Transaction Trigger, which has been available since iOS 17, the new Notification Trigger offers several significant advantages. It works not only for Apple Pay purchases made with an iPhone at physical payment terminals, but also with any banking app that sends notifications. It also runs more reliably than the Transaction Trigger, making it the recommended option.
When used with Budget Flow’s new “Extract Transaction Info” action (Version 3.3.0+), the amount and currency can be automatically extracted from the notification. Additionally, on devices that support Apple Intelligence, Budget Flow can determine additional information based on your existing data, such as the category and payee.
How to set it up
- Create a new personal automation by opening the Shortcuts app and going to the “Automations” section in the “Library”. Then, tap “+” => “Edit” => “Automation” and search for “Notification”.
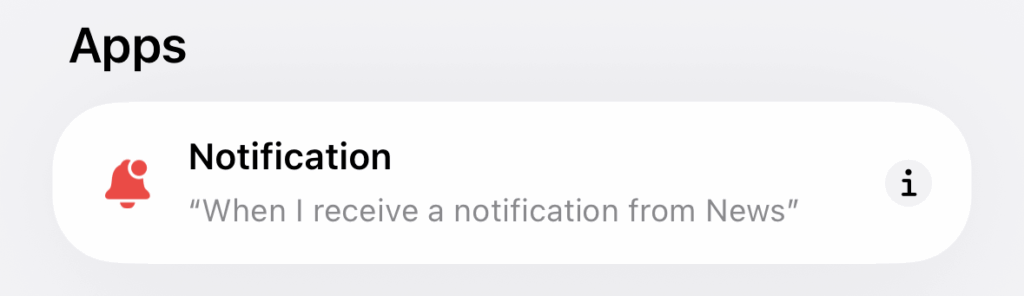
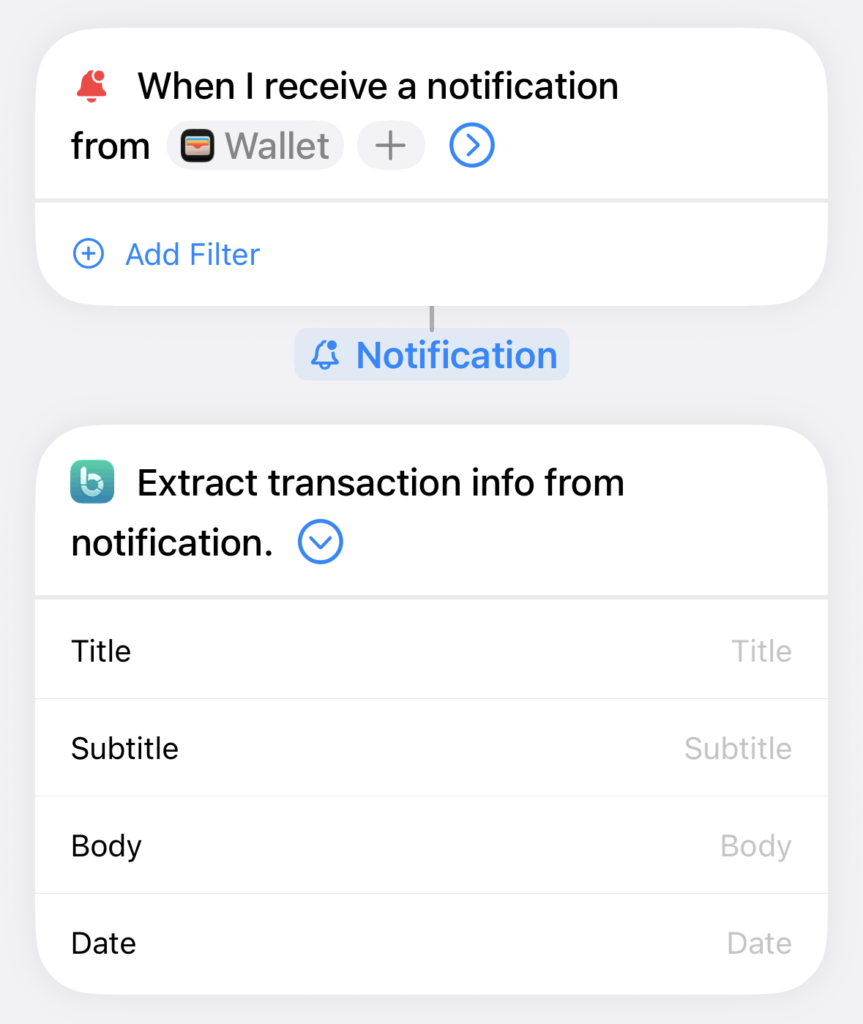
- Tap the “App” label and select the app whose notifications you want the automation to react to. In this example, the source app is Apple’s Wallet app, so the shortcut will be triggered by an Apple Wallet notification. However, you can choose any app you like, including your banking app.
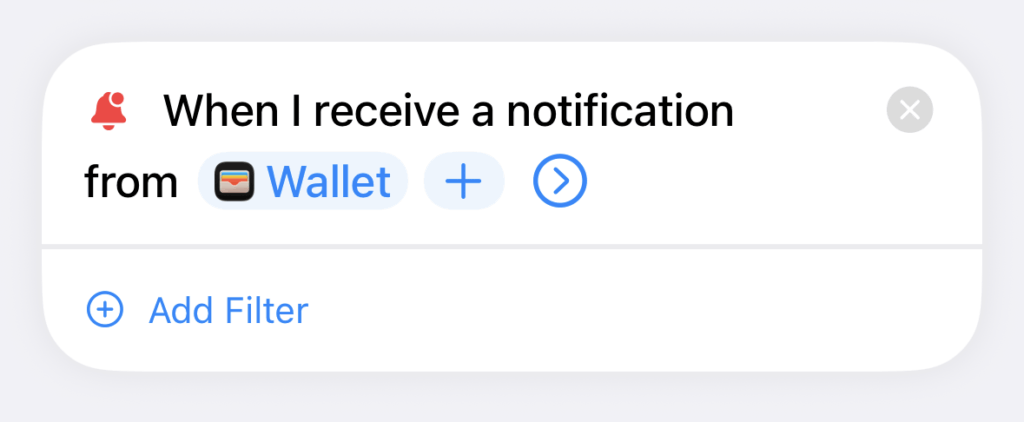
- Now we need to extract the transaction information from the notification. This can either be done manually using the “Match Text” action, or you can use Budget Flow’s convenient “Extract Transaction Info” action. The latter will not only extract the amount and currency of the transaction but, on devices that support Apple Intelligence, also determine the payee and match the transaction to one of your existing categories.
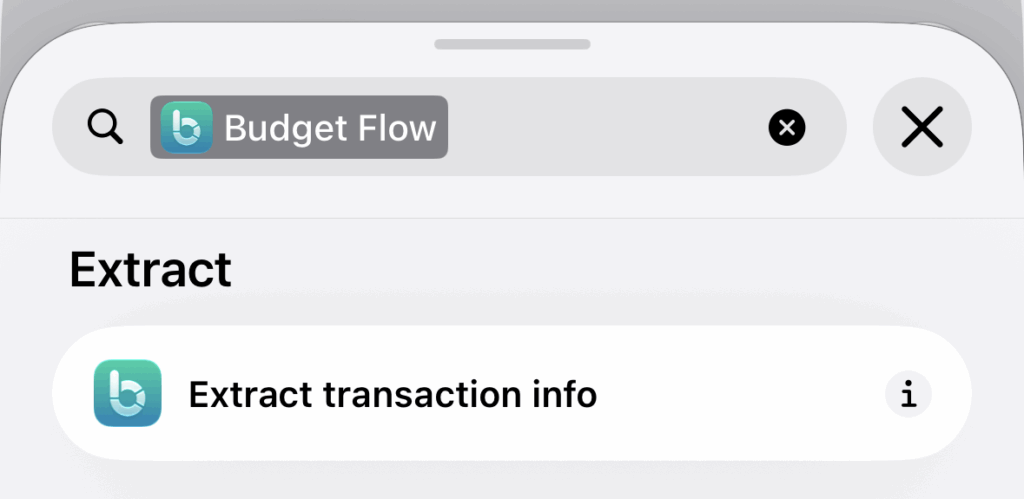
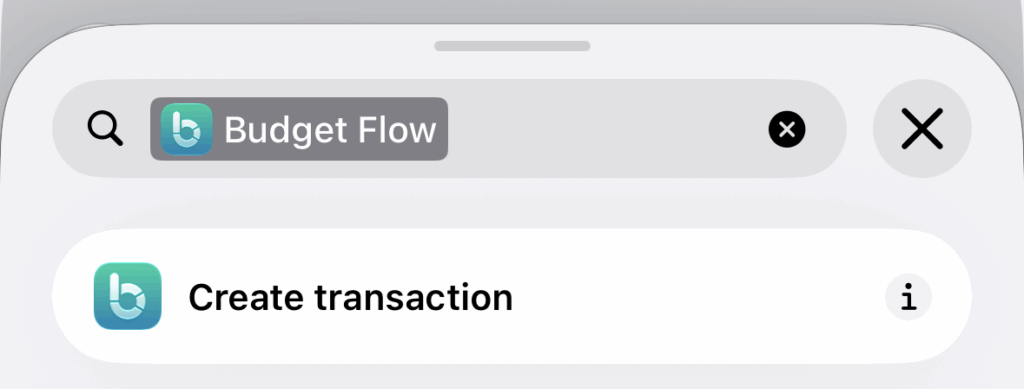
- If you have Budget Flow installed, tap the “Search” bar below and search for “Budget Flow”. From there, select the “Extract Transaction Info” action.
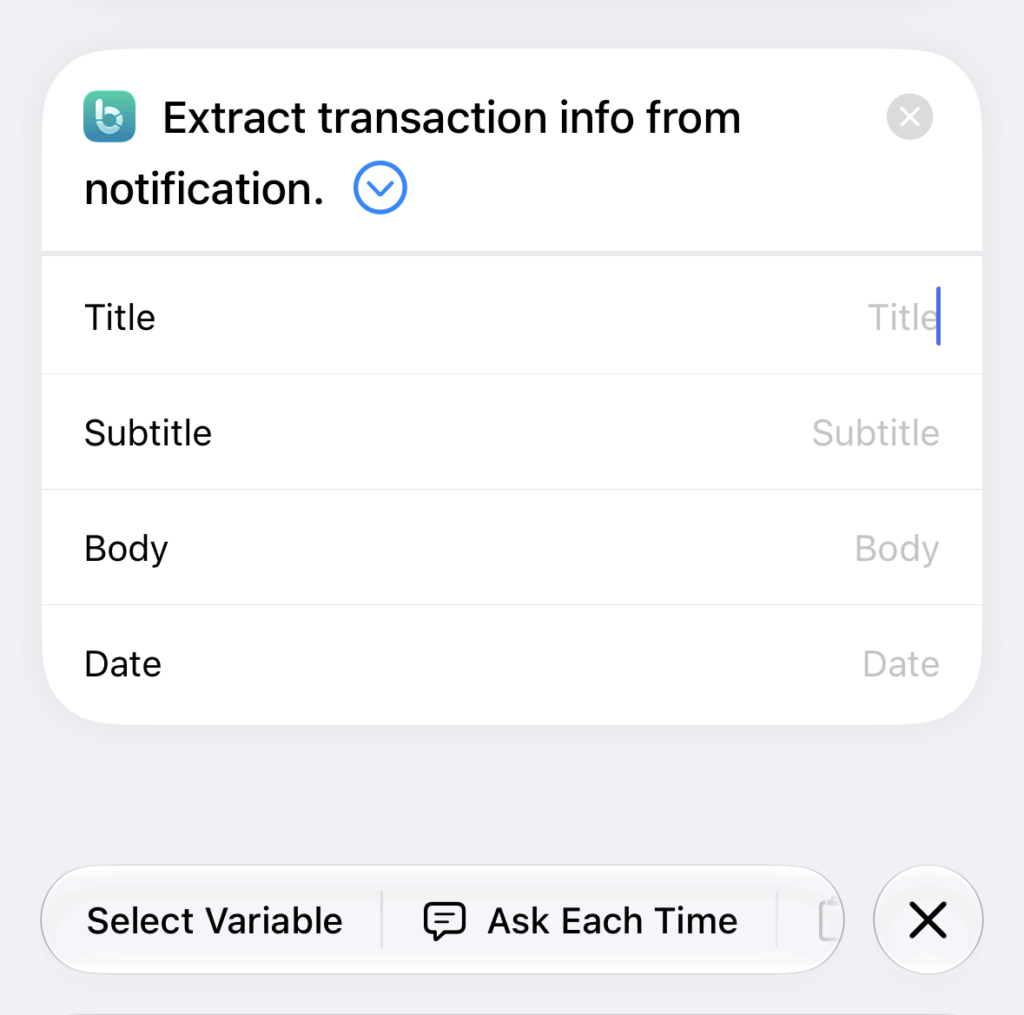
- Next, we need to configure the input variables of the “Extract Transaction Info” action. To do this, tap any field (e.g., “Title”) and then tap “Select Variable” from the bottom toolbar.
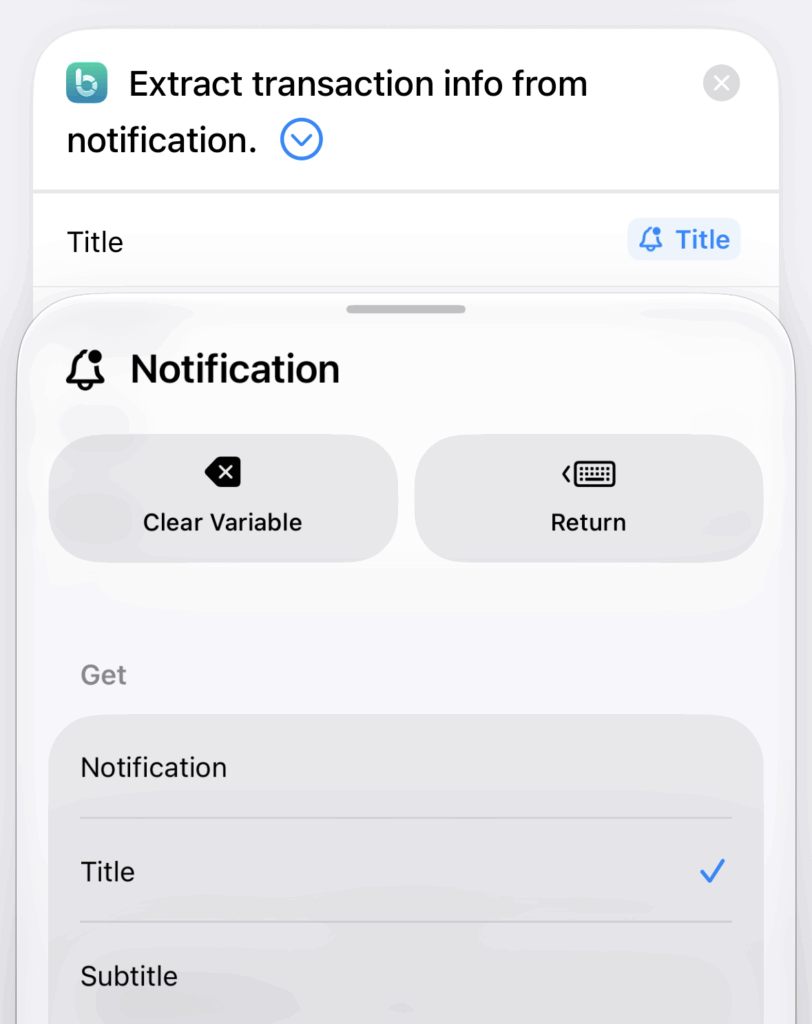
- As soon as you tap “Select Variable”, the interface will change and all output variables will become visible. Since we want to use the notification received by our automation, we tap “Notification”.
- The notification is now set as the input parameter for the title field of our “Extract Transaction Info” action. However, since we only want to use the title, we need to tap the notification input variable again and select “Title” from the menu that appears.
- Repeat these steps for all other fields so that the corresponding notification properties (Title, Subtitle, Body, and Date) are mapped correctly.
- Then tap the search bar again and search for “Budget Flow” once more. This time, however, we’ll select the “Create Transaction” action.
- To ensure that the action receives the correct input, we’ll need to configure it accordingly. Since most transactions are expenses, we set the “Type” to “Expense”, define our “Budget Book” and “Account” followed by configuring the “Amount” field.
- To retrieve the correct amount from the extracted transaction, tap the “Amount” field and then tap “Select Variable”, as we did when configuring the “Extract Transaction Info” action. This time, however, we’ll select our extracted transaction information as our input variable, and then use the “Amount” from it.
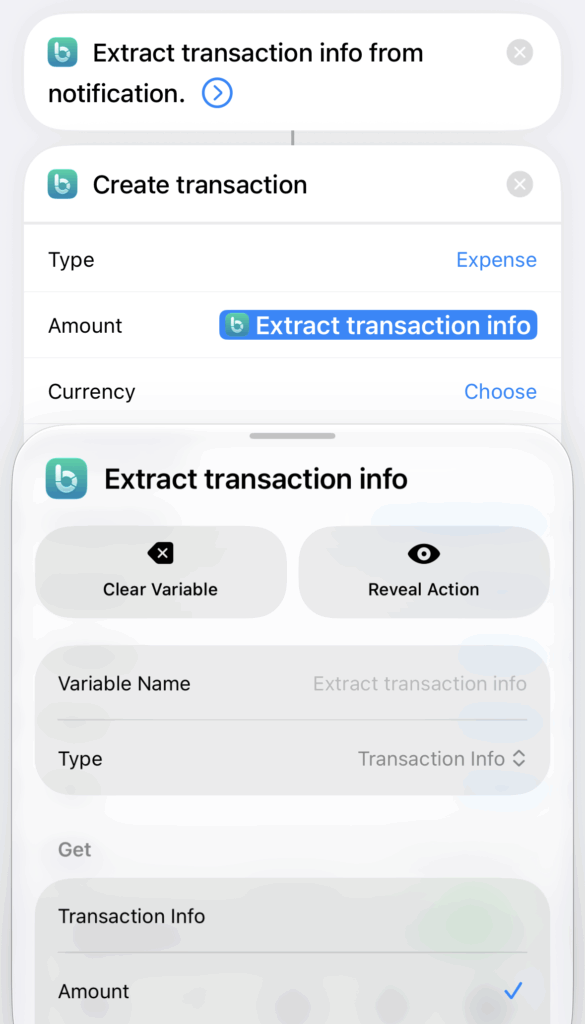
- Optionally, you can repeat this process with other retrieved information from the “Extract Transaction Info” action, by mapping the date, category, or payee as well.
Here is a list of all fields, including required ones and default values:
| Field | Description | |
| General | ||
| Type | The optional type field. If not set, the type is determined based on the sign of the amount (e.g. “10.00” is considered as income and “-10.00” as expense). | |
| Amount [Required] | The amount field. | |
| Currency | The optional currency field. If not set, the currency of the selected account will be used. | |
| Exchange Rate | The optional exchange rate field (for foreign currencies). If not set, the exchange rate will be set to 1. | |
| ⠀ | ||
| Assignment | ||
| Budget Book [Required] | The budget book field. | |
| Account [Required] | The account field. | |
| Category | The optional category field. If a category is specified: • If the corresponding category already exists in the app, the transaction will be assigned to it. • If the category does not exist, an error will be displayed. In order to create a category first, please run the “Create Category” action first and use the category as an input parameter for this field. If no category is specified, the transaction is displayed as “Unassigned”. | |
| Payee | The optional payee field. | |
| Tags [v2.0.6+] | The optional tags field. | |
| ⠀ | ||
| Due | ||
| Date | The optional date field. If not set, the current date will be used. | |
| Use Custom Time | Indicates whether the time should be extracted from the given date. | |
| Repetition Interval | Indicates the period for which the transaction is repeated (e.g., never, monthly, etc.). | |
| ⠀ | ||
| Payment | ||
| Pending [v1.6.7+] | The optional is pending field. This is useful if, for example, you want to import transactions that have not yet been debited (e.g. for credit card payments). | |
| ⠀ | ||
| Miscellaneous | ||
| Evaluated | The optional is evaluated field. | |
| Location | The optional location. Note: Unfortunately, due to a limitation in iOS, it is necessary to enable location access for the Shortcuts app in order to use the action. However, you can clear the location field if you don’t want to use it. | |
| Notes | The optional notes field. | |
| Attachments [v2.0.6+] | The optional attachments field. | |
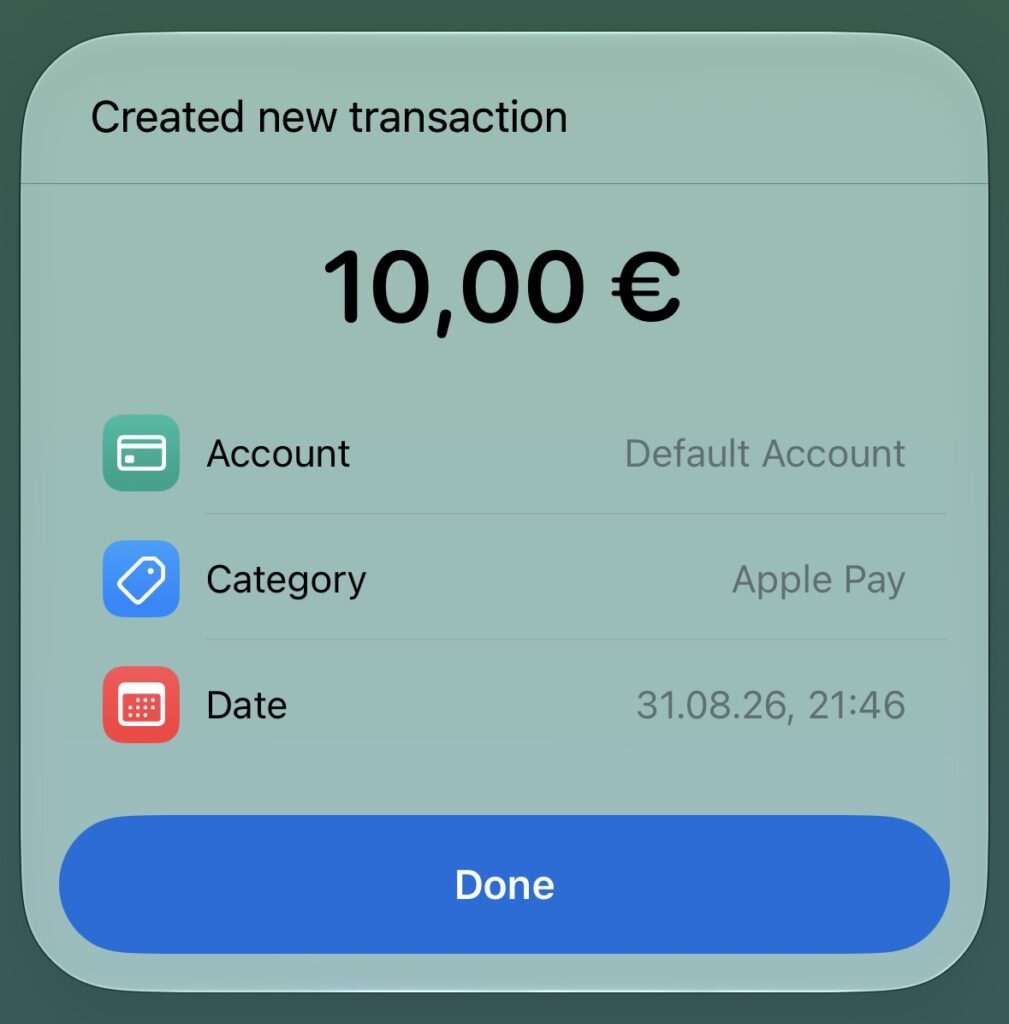
| Show when Running | Indicates whether the “Transaction Added” dialog should be shown after the transaction has been added. |
- Your automation is now configured properly and can be saved.
- If you would like to try it out, hit the “Play” button in the bottom right corner. If all the fields are mapped properly, the shortcut should run, but it will ask you for an amount since we have not yet received a notification from our source app. This is expected when running the automation manually. Once the automation is triggered by an actual notification, however, the amount should be extracted automatically.
- Now, every time you make a purchase and receive a notification from your specified app, the transaction is automatically added to Budget Flow! 🎉
Transaction Trigger (iOS 17+)
In iOS 17, Apple introduced a new automation trigger in the Shortcuts app called “Transaction”, which allows you to automatically execute any shortcut after making a purchase using Apple Pay.
How to set it up
- Create a new personal automation by opening the Shortcuts app and going to the “Automations” tab. Tap the “+” button to add a new automation and select “Transaction”.
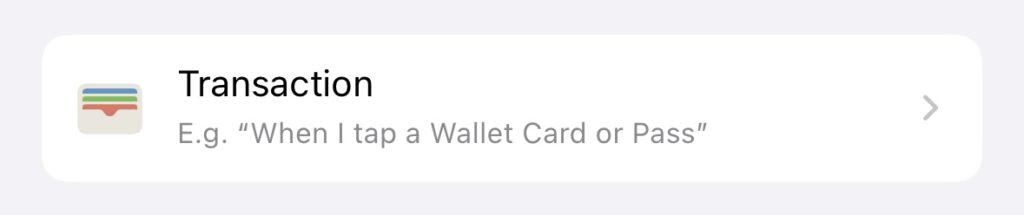
- On the next screen, you can select the cards and categories that this automation will apply to. You can leave all options selected.
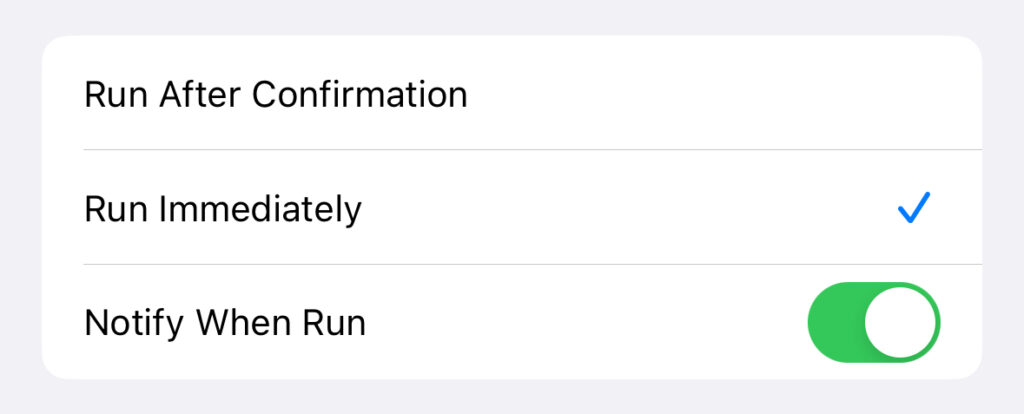
- At the bottom of the screen, select “Run Immediately” to avoid having to manually confirm it. Tap “Next” to continue.
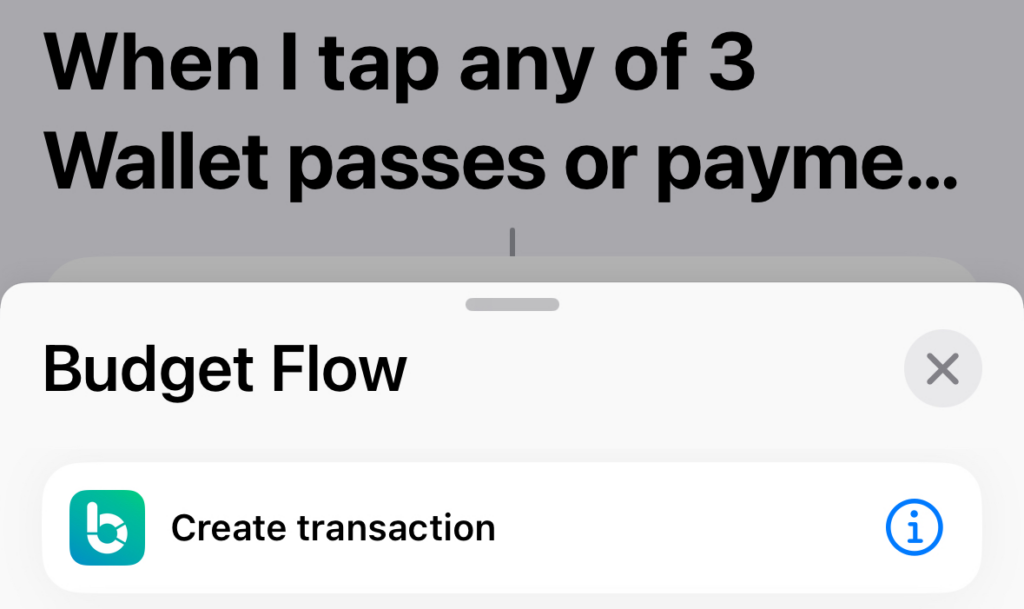
- Automations require a specific shortcut input configuration. Instead of selecting a shortcut directly, choose “New Blank Automation”. Inside this new automation, tap “Add Action”, select the “Budget Flow” app, and tap the “Create Transaction” action.
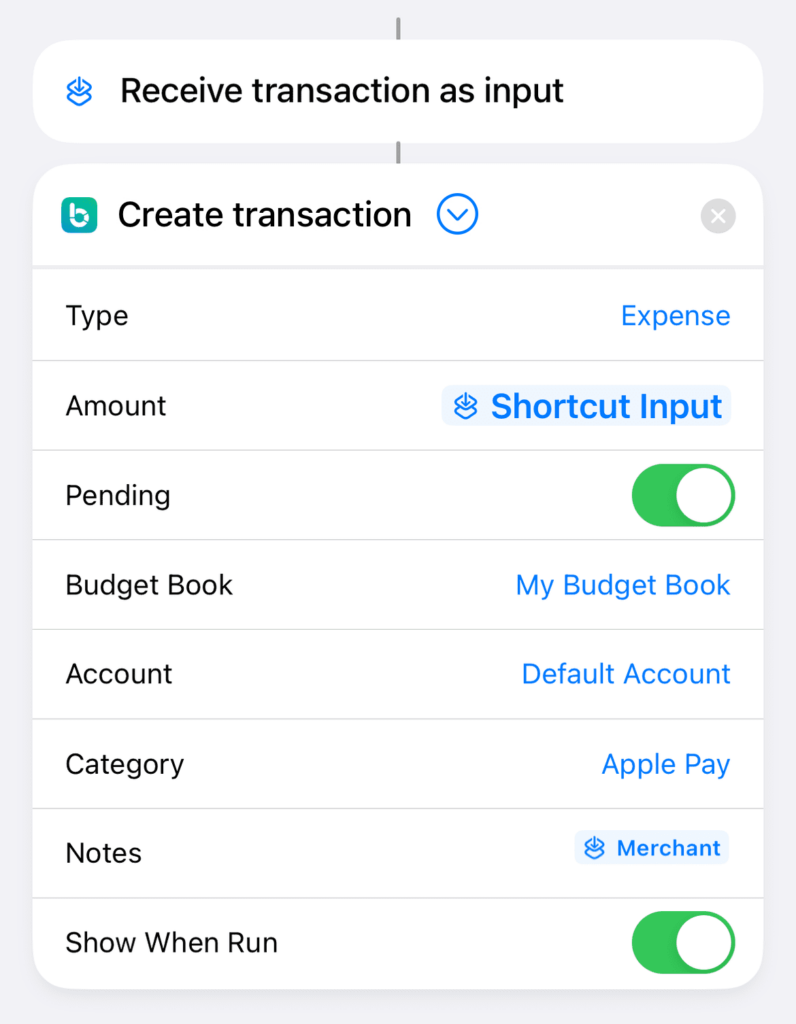
- To ensure that it receives the correct input, expand the action by tapping the button. You’ll need to configure the action according to your preferences, such as specifying the “Budget Book”, “Account” or “Category” to use. Set the “Type” to “Expense” to add the new transactions as expenses by default. The most important step here is to configure the “Amount” field. Select the “Amount” field, tap “Select Variable”, and choose “Shortcut Input”.
- Next, tap the “Shortcut Input” variable again to configure which part of the transaction is passed. You must select the “Amount” value. Optionally, you can repeat this process for the “Notes” field to add the “Merchant” to the notes as well, if you wish.
- Your automation is now properly configured. Simply tap “Done”, and you’re all set.
- Now, every time you make a purchase with Apple Pay, the transaction is automatically added to Budget Flow! 🎉