Budget Flow provides the ability to create Payees and assign them to Transactions (including automatisms so that various fields such as the Category or Account are automatically selected).
Create a Payee
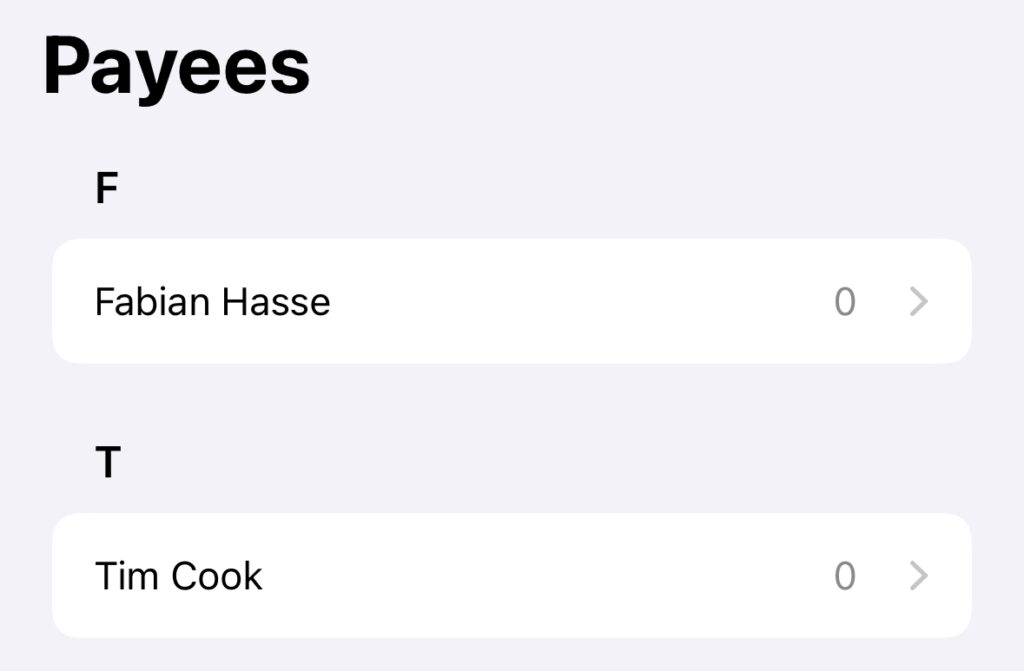
- To create a new Payee, open the “Settings” of the app and navigate to “General” => “Manage Payees”. In the upcoming view, you will see all the Payees that exist in the currently active Budget Book. The Payees are grouped by the first letter of their name.
To create a new Payee, click on the “+” button in the top right. Next you will see a new view where you can set the properties of the Payee:
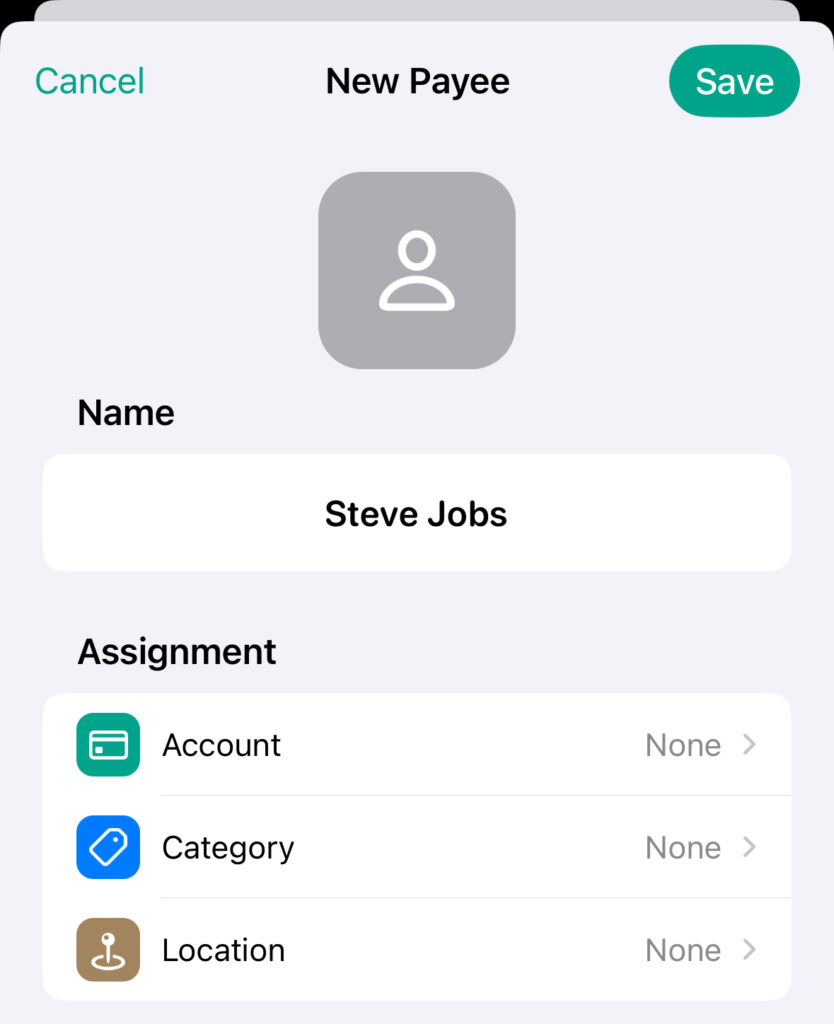
| Property | Description |
| Name | The unique name of the payee. |
| Account | The optional account of the payee which is automatically selected when the payee is assigned to a transaction. For more information about accounts and which features to use click here. |
| Category | The optional category of the payee which is automatically selected when the payee is assigned to a transaction. For more information about categories and which features to use click here. |
| Location | The optional location of the payee which is automatically selected when the payee is assigned to a transaction. |
| Notes | The optional notes of the payee. |
- Finally click on “Save”. Your newly created Payee will then appear in the list of all the Payees that you have created.
Edit Payees
Edit a Payee
- After you have created a Payee, you can edit it at any time. To do this, first go to the app’s settings and navigate to “General” => “Manage Payees” as you did when adding.
- To edit a Payee, either swipe from right to left and click on the “Pen”-icon, or long press to open the context menu and select “Edit”.
- After that, you can modify your existing Payee as you like and finally click “Save” to save your changes.
Delete Payees
- To delete a Payee, go to the app’s settings again and navigate to “General” => “Manage Payees”.
- To delete a specific one, either swipe from right to left and click on the “Trash”-icon, or long press to open the context menu and select “Delete”.
- You can also swipe from right to left and click on the “Pen”-icon or long press to open the context menu and select “Edit” to edit a specific Payee. At the bottom you will then find a “Delete Payee” button with which you can delete the currently edited Payee.
- After that, a dialog will appear asking you to confirm the deletion. Once you confirm, the corresponding Payee will be deleted.