Budget Flow allows you to use multiple Accounts in a Budget Book in parallel. In this tutorial you will learn how to create new Accounts and how to edit and delete existing ones.
Create an Account
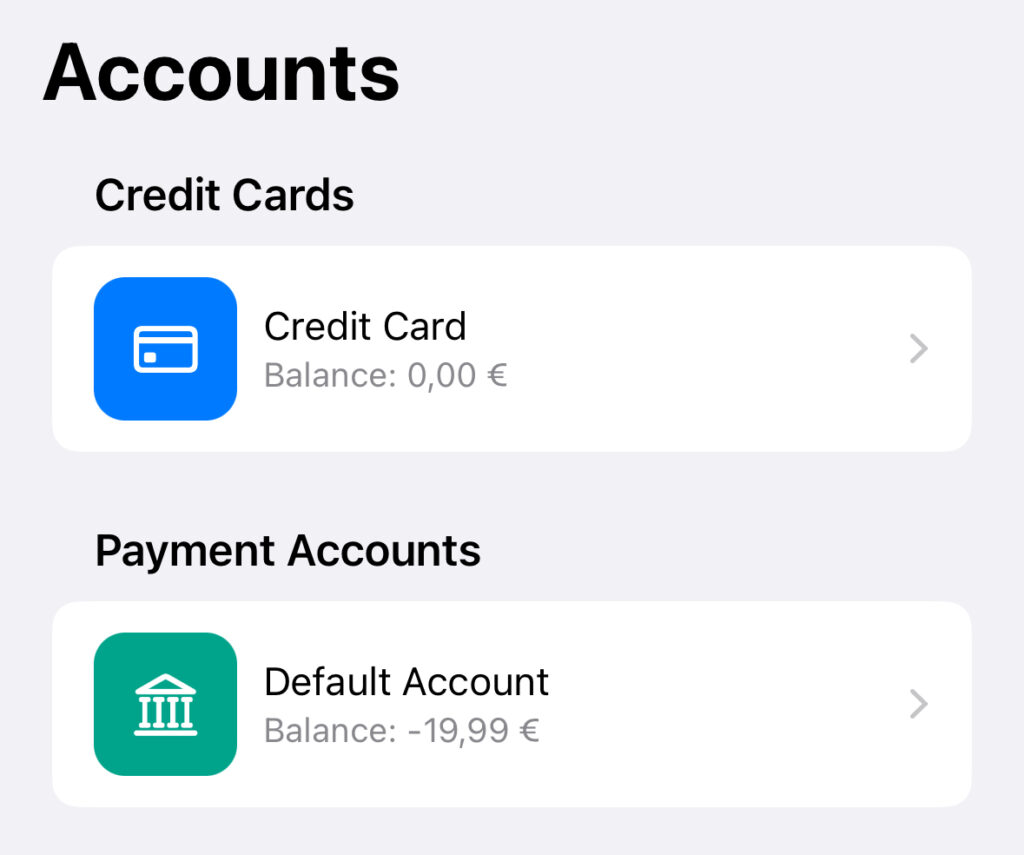
- To create a new Account, open the “Settings” of the app and navigate to “General” => “Manage Accounts”. In the upcoming view, you will see all the Accounts that exist in the currently active Budget Book. These are grouped by their specific type.
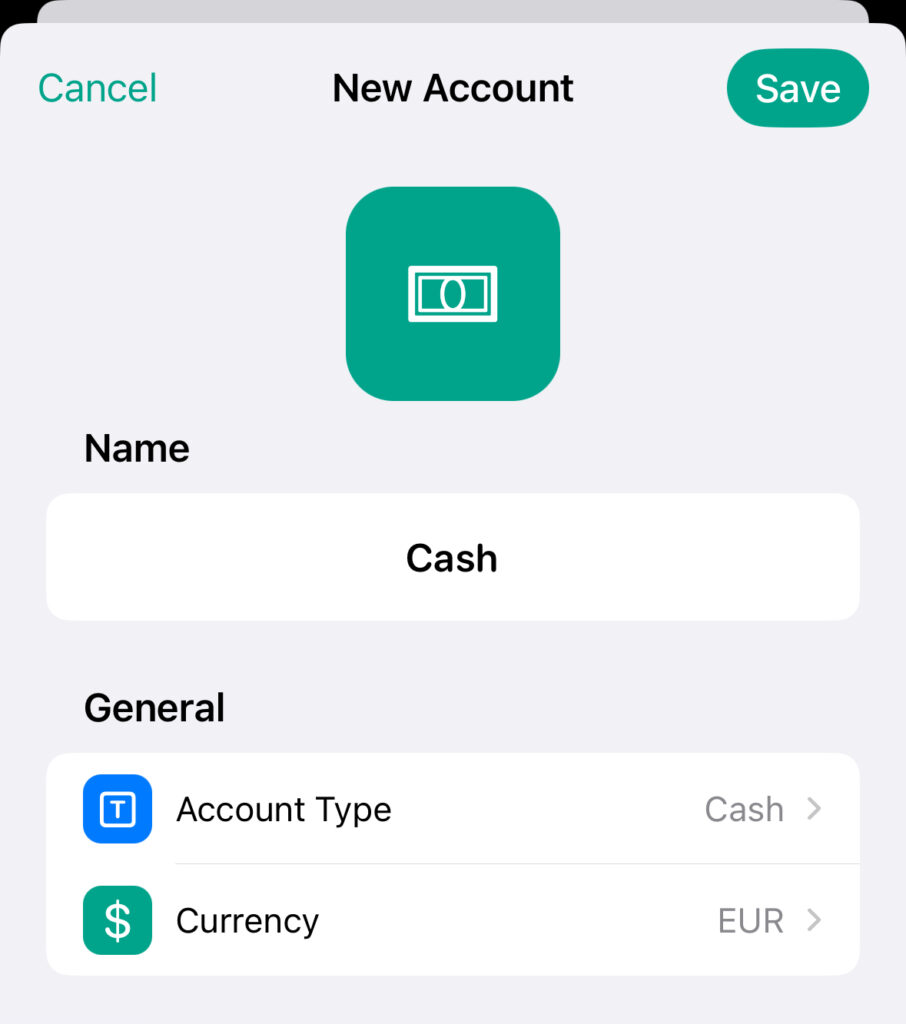
- To create a new Account, click on the “+” button in the top right. This will open a new view where you can set the properties of the Account:
| Property | Description |
| Name | The unique name of the account. |
| Account Type | The type of account that will be used to group them together in the list of accounts. |
| Currency | The custom currency of the account which can be used to use accounts with different currencies in the app. If not set, the global default currency of the corresponding budget book is used. |
| Automatic Billing | [Only available for credit cards] This feature can be enabled to automatically balance a credit card on a specific day of the month using a reference account. For more information on how to use the automatic billing feature, click here. |
| Color | The color of the account. |
| Icon | The icon (emoji / symbol) of the account. |
| Notes | The optional notes of the account. |
| Mark transactions as pending | Indicates whether new transactions for this account should be automatically marked as “pending”. |
| Initial Balance | The initial balance of the account. If this value is set, the total balance will be automatically recalculated. |
| Total Balance | The total balance of the account. If this value is set, the initial balance will be automatically recalculated. This makes it easy to reconcile the account balance with the real bank account if a transaction is missing from Budget Flow. |
| Default Account | Sets your default account, which is automatically selected when new transactions are created. If another account is already set as the default, the “Default Account” flag will be removed from the other account. |
- Finally click on “Save”. Your newly created Account will then appear in the list of all the Accounts that you have created.
Edit Accounts
Edit an Account
- After you have created an Account, you can edit it at any time. To do this, first go to the app’s settings and navigate to “General” => “Manage Accounts” as you did when adding.
- To edit an Account, either swipe from right to left and click on the “Pen”-icon, or long press to open the context menu and select “Edit”.
- After that, you can modify your existing Account as you like and finally click “Save” to save your changes.
Edit the list of Accounts
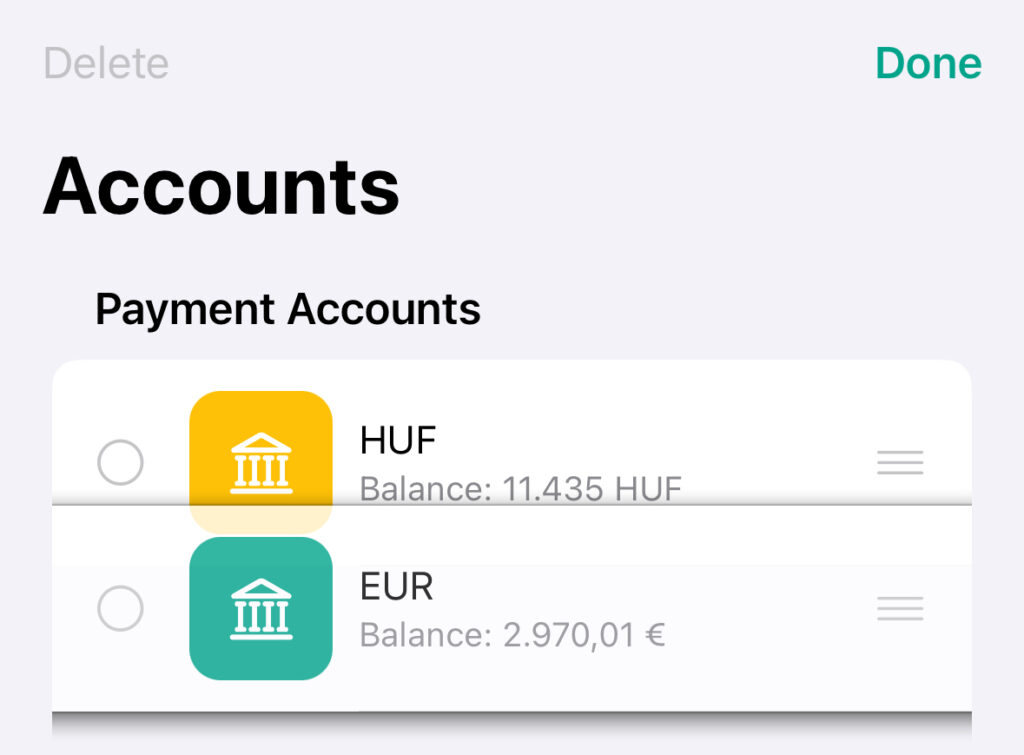
- In addition to individual Accounts, you can also customize the list of Accounts. To do this, click on the “Pen”-icon in the top right. This will switch you to editing mode.
- You can then use the drag indicator on the right to change the order of your Accounts within each group. However, moving them to another group is not possible.
- When you’re finished, click “Done” to save your changes.
- The sorting affects both the list of Accounts and the sidebar on the iPad and Mac.
Archive / Unarchive Accounts
- If you want to keep an Account and the Transactions it contains but the Account is no longer actively used, you can also archive instead of deleting it.
- To archive an Account, go to the app’s settings again and navigate to “General” => “Manage Accounts”.
- To archive a specific one, either swipe from right to left and click on the “Pen”-icon, or long press to open the context menu and select “Edit”. At the bottom you will then find a “Archive Account” button with which you can archive the currently edited Account.
- After that, a dialog will appear asking you to confirm the archivation. Once you confirm, the corresponding Account will be archived.
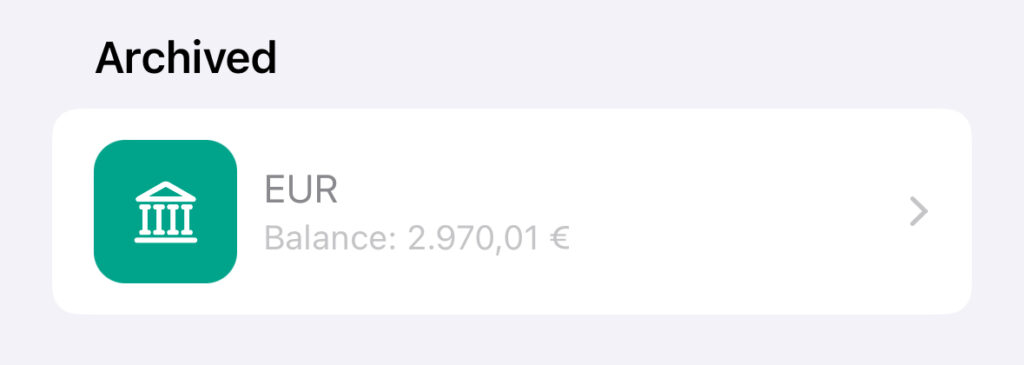
- After an Account has been archived, it is grayed out in the list of Accounts. It is also no longer displayed in the overview.
- You can unarchive an Account at any time. To do this, perform the steps described above again and click on “Unarchive Account” instead.
Delete Accounts
- To delete an Account, go to the app’s settings again and navigate to “General” => “Manage Accounts”.
- To delete a specific one, either swipe from right to left and click on the “Trash”-icon, or long press to open the context menu and select “Delete”.
- You can also swipe from right to left and click on the “Pen”-icon or long press to open the context menu and select “Edit” to edit a specific Account. At the bottom you will then find a “Delete Account” button with which you can delete the currently edited Account.
- After that, a dialog will appear asking you to confirm the deletion. Once you confirm, the corresponding Account will be deleted.