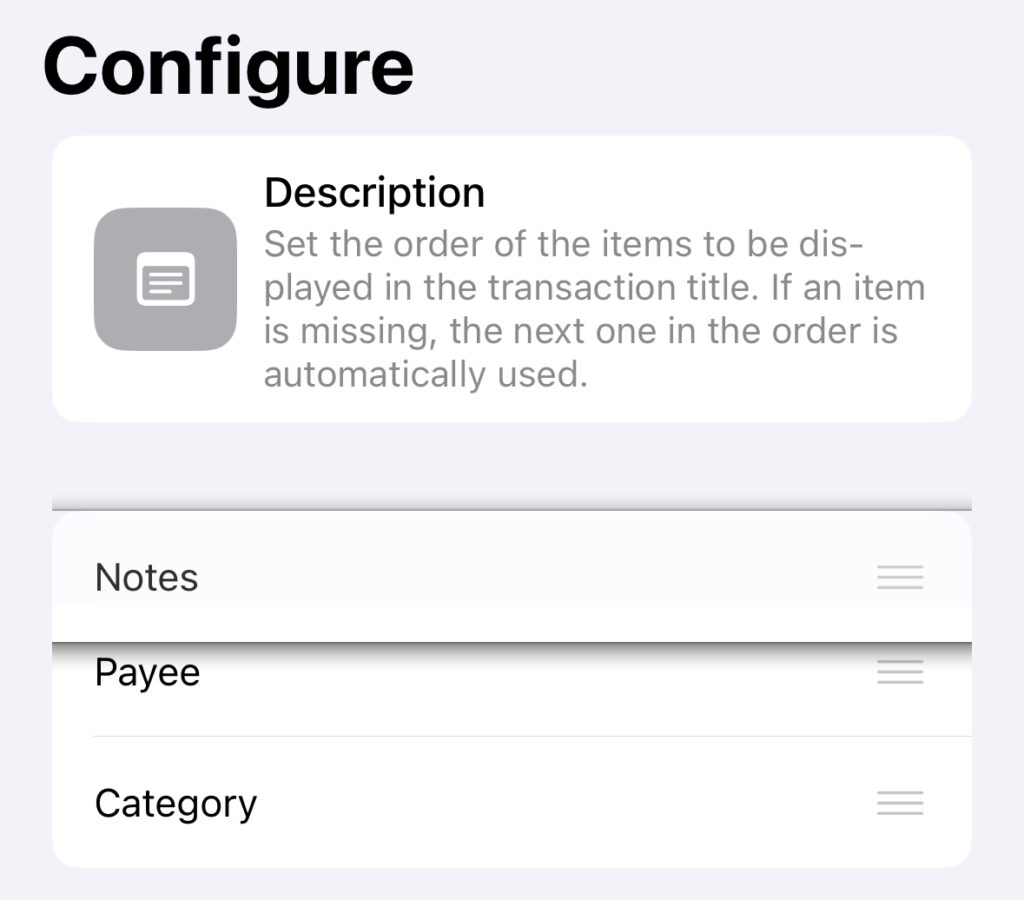
To customize the displayed title of your Transactions, you need to go to the advanced settings of the app. There you will find an option to configure the title under “View” => “Transaction Title”. After clicking “Configure”, you can easily customize the order of the elements that make up the Transaction title. Your changes to the order will be saved automatically.
For example, if you want “Notes” to be displayed first by default, move “Notes” to the top of the list (see screenshot). If the “Notes” field of a Transaction is empty, the element below it is automatically taken, depending on how you have configured the order within the list. In this case, the “Notes” are displayed first, then (if the “Notes” are empty) the “Payee”, and (if no Payee has been assigned) the “Category”. If there is also no Category assigned, the title of the Transaction will be displayed as “unassigned”.